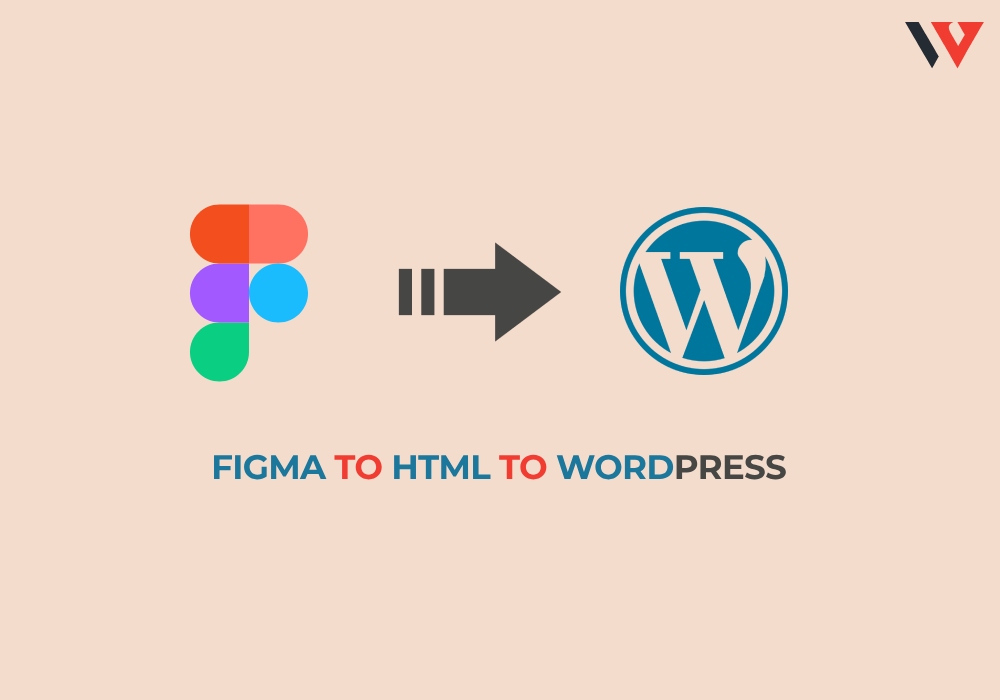
In this digital age, having a strong online presence is essential for businesses and individuals alike. WordPress, with its user-friendly interface and vast array of plugins and themes, is one of the most popular platforms for creating websites. If you’ve designed your website in Figma and now want to turn it into a fully functional WordPress site using the block structure, you’re in the right place. In this step-by-step guide, we’ll show you how to go from Figma to HTML to WordPress, while incorporating the block structure for more flexibility.
Step 1: Figma to HTML
1.1 Export Your Figma Design
Start by exporting your Figma design to obtain all the necessary assets and images. Figma makes this process quite straightforward. Download your design as PNG, JPEG, or SVG files, depending on your specific design needs.
1.2 Set Up Your HTML Structure
Create a new HTML file and set up the basic structure. This includes adding the essential HTML, head, and body tags. Additionally, include the necessary CSS and JavaScript files.
1.3 Convert Images to HTML/CSS
Use your exported design assets to build the visual elements of your website. This will involve using HTML and CSS to create headers, footers, sections, and other design components. Make sure to maintain a clean and organized code structure for easier integration with WordPress.
1.4 Implement Responsiveness
Ensure your design is responsive by using media queries to adapt your layout to different screen sizes. Test your design on various devices to make sure it looks and functions properly on all of them.
1.5 Optimize for SEO
Incorporate proper HTML tags and meta elements for SEO optimization. Use semantic HTML, add alt text to images, and set up essential meta tags, such as title and description, to improve your site’s search engine ranking.
Step 2: HTML to WordPress with Block Structure
2.1 Set Up a Local WordPress Environment
To work on the integration, you’ll need a local development environment. Install WordPress using a tool like XAMPP or WampServer. Create a new database and configure your local installation.
2.2 Create a WordPress Theme with Blocks
In your WordPress installation directory, navigate to the “wp-content/themes” folder and create a new directory for your theme. You can name it as per your project. Inside this folder, create the necessary files, such as `style.css`, `index.php`, and `functions.php`.
2.3 Use Block Editor (Gutenberg)
WordPress introduced the block editor (Gutenberg) for creating and managing content. Instead of breaking your HTML down into template parts, you can now create reusable blocks for various content sections. Create blocks for headers, footers, text, images, and other design components.
2.4 Enqueue Styles and Scripts
In your theme’s `functions.php` file, enqueue the CSS and JavaScript files you used in your HTML. This ensures that your styles and functionality are integrated seamlessly into your WordPress theme.
2.5 Customize Blocks and Templates
Customize your blocks and templates to match the design of your website. You can use block patterns and create custom block styles to achieve the desired visual effects.
2.6 Build Dynamic Content Blocks
With the block structure, you can easily insert dynamic content blocks to display posts, pages, and other content. Use block attributes and PHP to fetch and display content as needed.
Step 3: Finalizing Your WordPress Website
3.1 Install Plugins
Add the necessary plugins for security, SEO, and other functionalities. Popular choices include Yoast SEO, Akismet for spam protection, and WP Super Cache for performance optimization.
3.2 Configure SEO Settings
Utilize the SEO plugin to optimize your website’s visibility on search engines. Set your title tags, meta descriptions, and optimize your content for target keywords.
3.3 Test and Debug
Thoroughly test your WordPress website on various devices and browsers. Address any issues, such as layout problems, broken links, or slow load times.
3.4 Backup and Security
Regularly backup your website and implement security measures to protect it from potential threats. Consider using a security plugin like Wordfence to enhance your site’s defenses.
Conclusion
Building a WordPress website from Figma to HTML to WordPress with a block structure may seem like a complex process, but with a systematic approach, it becomes manageable. By following these steps, you can successfully transition your design from Figma to a fully functional WordPress website, offering you an online platform to share your ideas, products, or services with the world. Remember to keep your site up to date, continually optimize it for performance and SEO, and enjoy the benefits of your professional and well-crafted website. The block structure adds a layer of flexibility that makes content management even easier.